
I first heard about the Volcan Baru hike in Panama when I stayed at Lost & Found Hostel, which had a perfect view of this massive volcano from my room’s window. Not one to ever turn down a good adventure, I was intrigued when I heard some other backpackers talking about it. This volcano is right next to another Panamanian mountain town a few hours away called Boquete, and apparently, people hike Volcan Baru at night to watch the sunrise from the top.
Upon hearing this, I started to make tentative plans to work a casual volcano ascent (or so I thought at the time) into my next Panama plans. I teamed up with a few other travelers who were keen to hike it, and we headed to Boquete next.
The only issue was that a few days before we were set to head to Boquete, I woke up with a super swollen lymph node. After going to the doctor in Boquete, I was given antibiotics (and a shot you-know-where) and told that rest would be my best option.
Volcan Baru Hike Tip #1: Try your very best to be healthy before you hike.
But….. I only had two nights in Boquete before my speedboat trip in the San Blas Islands. It was now or never for me to climb the volcano – I could either do it while sick, or not do it at all.
I bet you guys all know what I chose to do….

Preparing for the Volcan Baru Hike
After feeling sorry for myself for a little while and wallowing in a bit of sorrow, I decided to man-up and accept my fate. I have incurable fomo for adventures (and sunsets… or sunrises in this case) and I knew that if I missed out on this I would definitely regret it.
So, off we went to the store to buy snacks and water for the 5 hour uphill climb in the dark. Our hostel owner helped us organize a taxi, and we were off to the base of the volcano around 12:30am for a 6am sunrise.
Volcan Baru Hike Tip #2: Bring snacks… lots of them. And at least 2L of water each.
This is important. This isn’t the kind of hike you can squeeze by without proper preparation… trust me.
Volcan Baru Hike Tip # 3: Get a taxi to the base of the volcano at least 5-6 hours before sunrise, and split it with other travelers.

The Volcan Baru Hike: So it Begins
The moment we got to the base of the volcano is when I realized that I truly honestly had NO idea what I was in for… at all. I knew it was a 5-hour uphill hike, but I wasn’t sure about the distance.
When we saw a sign that said 13 kilometers to the summit, I knew I had either grossly underestimated the difficulty of this hike or just subconsciously decided that ignorance is bliss. Either way… we began to trudge our way up.
Volcan Baru Hike Tip # 4: Things you should know before you go, unlike me: it’s 13km each way.
Now, I’m not kidding you when I say it’s 13km straight up. It’s usually quite a steep ‘up’ as well. We all had flashlights or headlamps and were pretty lucky to have the light of the moon providing a bit more assistance to our dark trek.
So we trekked… up, and up, and up. About 2km in, the heel came fully off of my boot after kicking a big rock that was able to dodge the beam of my mini flashlight.
This could have been the end of me, but luckily I was afraid of just that happening and had some spare trainers to put on. My boots were already on their way out, so this was a good last hurrah for them!
But, unfortunately, my trainers too were destined to fail me. They started rubbing against my heels within a few more kilometers, and I had to put on some band-aids I had packed along. Great.
Volcan Baru Hike Tip # 5: Make sure your shoes are either functional or broken in. Actually, make sure they are both!

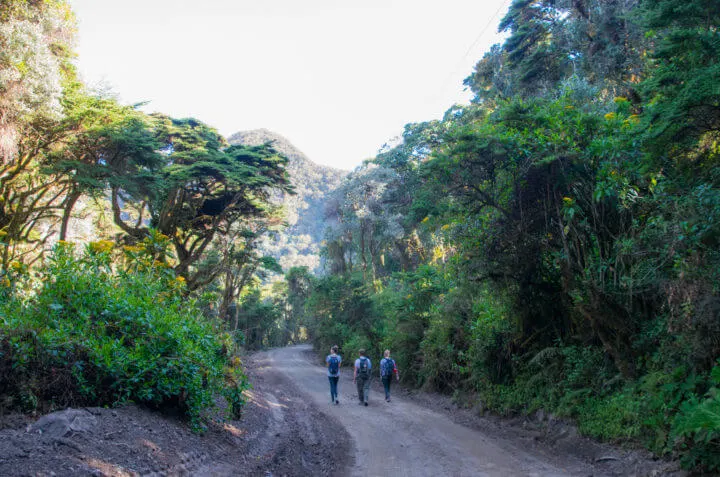
Staying positive and only complaining a tiny bit, we made our way up. And up… and guess what? Then we went up some more. We stopped for food and water every 20 minutes or so, resting and catching our breath.
We couldn’t stop for long, though, because the sweat we had worked up on our way up the latest stretch of hill would start to dry and become freezing cold on our skin.
Volcan Baru Hike Tip # 6: Do NOT wear a cotton bottom layer! It turns wet and cold with sweat when you stop walking. Preferably wear something sweat-absorbent.
This might not have been the reason you imagined, but yes, it will make you colder in this night.
Volcan Baru Hike Tip # 7: IT WILL BE COLD! Bring enough to keep you warm, especially at snack/water stops.
Remember – Boquete is actually quite high in the mountains, and the volcano exceeds 3600m! You will be able to feel this when it’s the actual middle of the night doing the Volcan Baru hike for sunrise, when the place is at its absolute coldest. This is true especially when you reach the top and are waiting for the sun to come up.
Volcan Baru Hike Tip # 8: I know you were just on beaches in the Caribbean, but now you’re actually at a pretty high altitude. Dress accordingly.
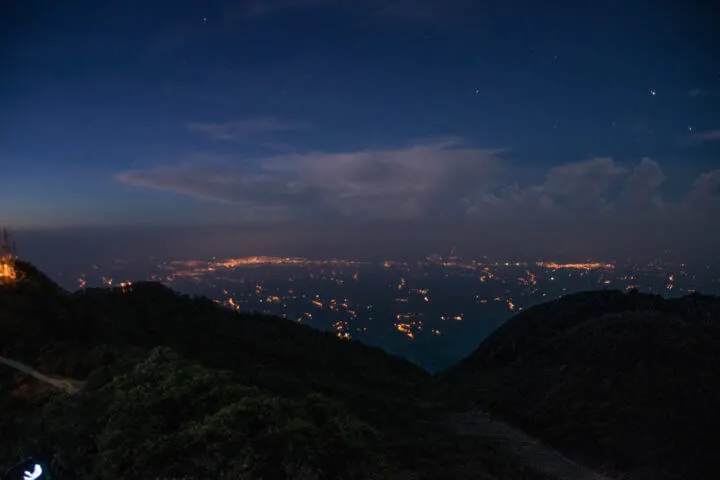
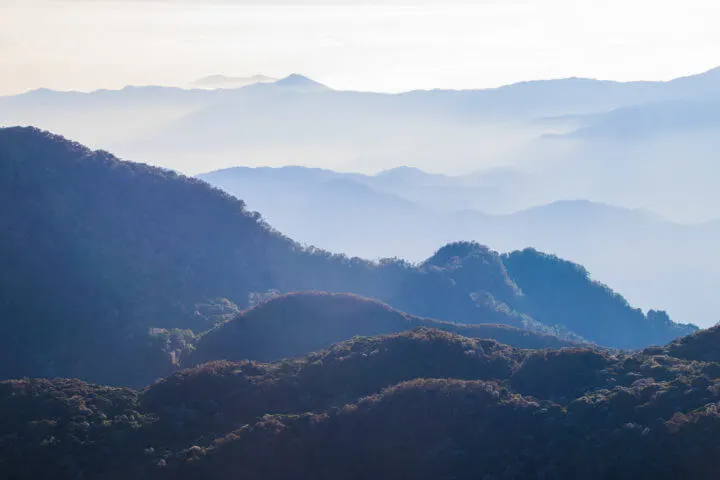
Hours passed as we seemingly stayed in the same place while walking. There was ALWAYS another hill around the corner! The trail switched back and forth hundreds of times, sometimes turning around to what would surely be a nice view in the day time – lit up by the moon and distant twinkling stars.
It was 2am, then 3am, then just past 4 when we first caught sight of the massive cell phone towers that were lit up at what was surely the top. They seemed soooo close… yet SO far away when we hit our first downhill after spotting them for the first time. Sigh.
We made our way down a hill and up again, and this time the bright towers were much closer. We passed a little campsite that said it was at 3400m or so, meaning we had just over 200m (upwards) to go to the summit!
We had never been so relieved, but of course this was the most vertical (and slippery) part of the whole trek. You can really feel the altitude at this point as well – our breath was gone from our lungs unusually quickly around this point!
Volcan Baru Hike Tip # 9: Some dirt is very loose and slippery, so take care going up and especially down when it’s super dry outside. I think we all fell on our asses at least once.
It’s a slippery slope for a bit of a different reason out here! The loose dirt lead to tons of spills – no bad ones, but annoying just the same!
Volcan Baru Hike Tip # 10: You will feel the altitude, especially at this point. Take breaks to give your body time to adjust!

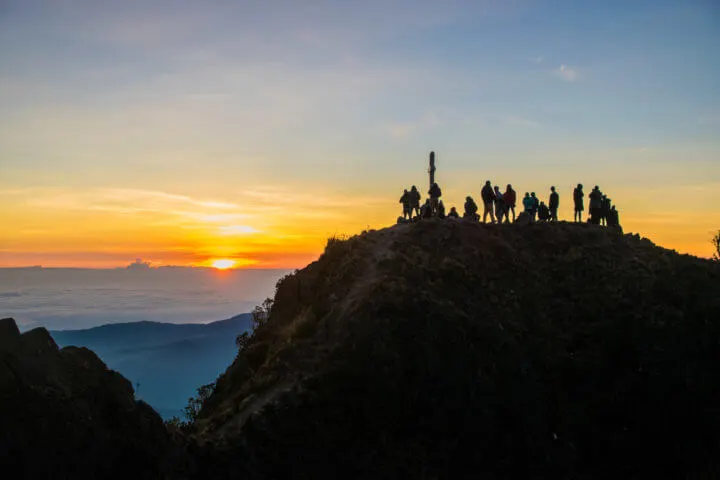
When we reached the promised land of radio tower light, we could see people huddled in sleeping bags waiting to see the same sight we had all come for. The sky was beginning to lighten up, just in time. It turned out that the light poles were a bit deceiving, and that we had to keep going a little bit more to reach the real summit. It seemed to be marked by a big white cross we could see in the distance.
Volcan Baru Hike Tip # 11: The very top is where you’ll see a big white cross. This is the best panoramic view and photo point, and has a few other little trails around it that will be great for photo ops.
We made our way along a more precarious trail, climbing up some rocks on our hands and knees after scarfing down a few candy bars to replenish energy we had spent. It felt as if anything we ate would just disappear into nothing, as we had just burned countless calories getting up to this 3650m elevation. Our legs were aching, but making it up this last little stretch was a piece of cake compared to what we had just done!
I set up my phone to take a time lapse, and was snapping photos in every which way as the sky got lighter and lighter. On a clear day, you can actually see the Caribbean AND Pacific Oceans, and oh what a sight that would be!
This is something super unique about the Panama Volcan Baru hike – it’s such a thin country, so seeing two oceans at the same time really is possible. It was quite cloudy for us, but I used my phone’s compass to pick out where each ocean would be. We could see a bit of the Pacific along one side.
Volcan Baru Hike Tip # 12: See if you can see the Caribbean and Pacific Oceans at the same time, which would be a very unique moment! If not, check your map to see where they would be and see if you can trace the thin coastlines of Panama.

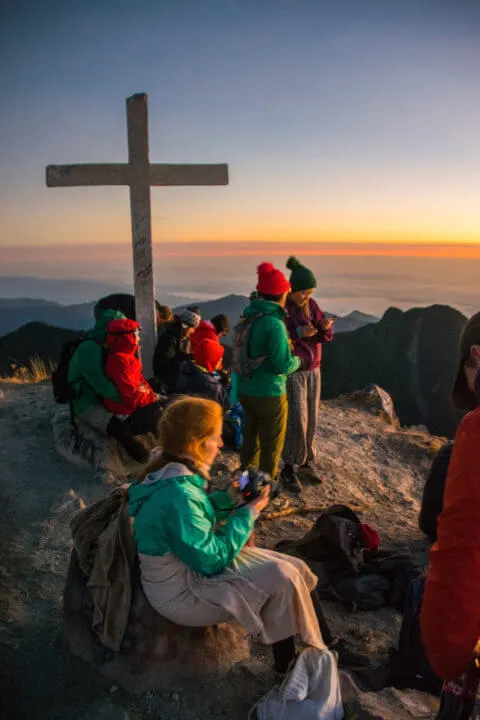

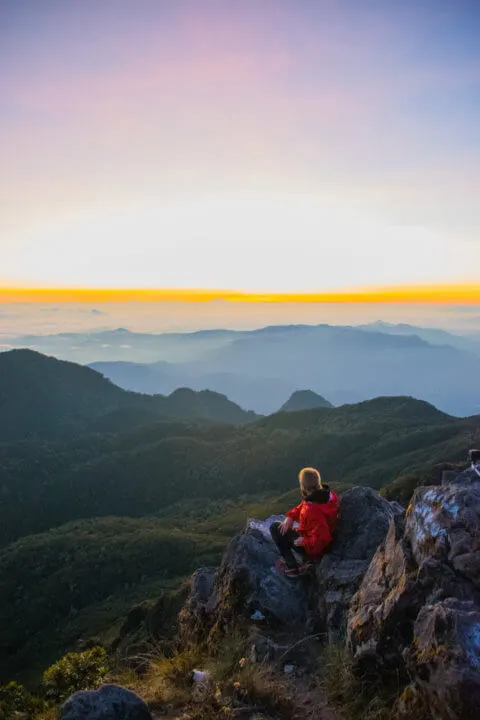
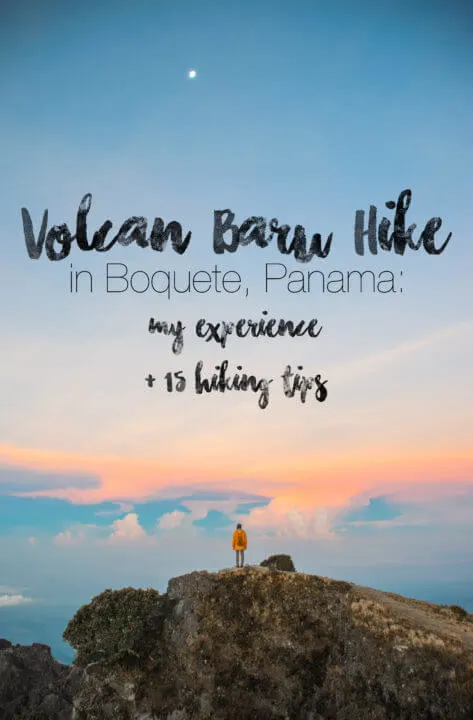
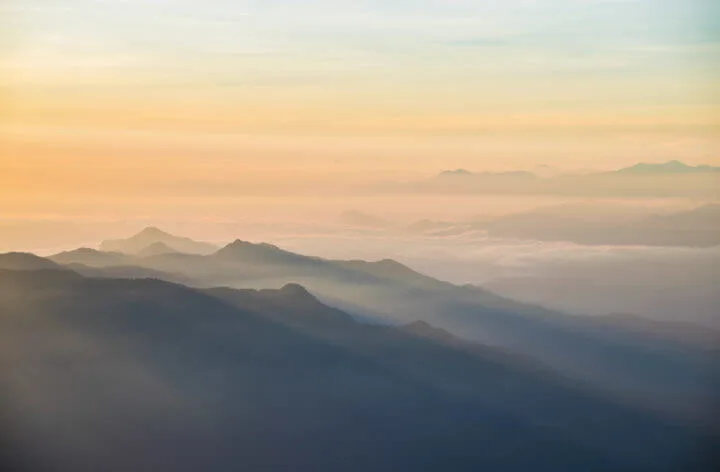
We got amazing photos of the sunrise and of the clouds opposite the sun turning yellow and pink, and even got the almost-full moon in a couple of the photos as well. It was not an easy accent, but it was so worth it to see the sun rise from 3650m over a sea of clouds at the highest point in Panama.
We waited quite a while taking photos until the sun was well up, and even made friends with some ‘famous’ Panamanian luchadores (fighters of some kind… like the ones in Nacho Libre 😛 )who had driven up in a jeep to have a photo shoot of the sunrise. We were all half-hoping that these guys would drive us down the mountain again!
Volcan Baru Hike Tip # 13: There are SO many amazing places and angles to take photos – take adventage of them! Feel free to use mine for inspo. 😉
It’s definitely worth taking some time at the top to explore and relish in the amazing view and accomplishment.
Volcan Baru Hike Back Down
As soon as we started making our way back down, I felt a strange and new pain in my knee. This pain worsened and worsened as we went down, and I could tell that something was wrong. Soon it was almost unbearable to keep walking, and I wasn’t sure what to do.
But looking at it from a logical perspective, what could I do besides keep going?! Wait and hope that a car would pass us by eventually and beg them to take the cripple down the mountain? That wasn’t the most logical thing, so I took some ibuprofen and pressed on – in a fair amount of pain.
Nothing like this has ever happened to me before, especially in that I was an athlete my whole life and have always been used to high levels of training. But upon later research, I figured that it must have been the sudden massive increase in movement – 13km uphill and 13km back down again is NO joke to the body!
Volcan Baru Hike Tip # 14: If climbing Volcano Baru is going to be a sudden massive increase in physical activity for you (which I didn’t even think it was for me, but coming from 2 festivals it must have been!) prepare yourself with ibuprofen and maybe a brace to wrap any sore body parts, just in case! This is true especially if you have a history of injury anywhere. Beware – if you are hurting there is pretty much no other way down!
You might be thinking ‘yeah, yeah… I’ll be fine,” but trust me when I say this NEVER happens to me! I love long multi-day treks and have been an athlete my entire life. But Volcan Baru showed me!

I made it down most of the mountain by skipping and walking backwards, which were apparently the easiest ways for my knee to handle going down. Well, this was true besides the fact that when I walked backward, it agitated the blisters on my heels more.
So it was kind of a lose-lose (-lose), and I was honestly just chuckling at my stupid fate most of the way down between stings of knee pain. And, my lymph node was still kinda swollen. It was bad. I can actually feel you rolling your eyes at me through the computer screen 😛
Anyway, we got about 6 or 7km down the volcano, which seemed to take days, when we heard some wheels behind us. A few cars had gone by already, none of which had given us the time of day. Despite not really thinking anyone would pick us up, we stuck our thumbs out anyway. Anything would be better than this (at first I was all for walking back, until my knee started to hurt…).
This car stopped and looked at us, and motioned for us to come over. Could it be true?!? They told the two boys to get in the back, and us two girls to squeeze into the car with them. They could see the disbelief, pain, and relief in our faces as we got into the car, and found it hilarious as they drove off down the hill knowing they had basically saved our lives.
Volcan Baru Hike Tip # 15: This hike is hard. Don’t feel guilty accepting a ride, especially for the end. And that means a lot coming from me – someone who ALWAYS feels the need to complete things they started.

By this time it was probably well past 9am, and after the lovely workers dropped us off at the National Park entrance, we found a taxi to take us back to our hostel. WE HAD DONE IT! But first, we obviously had to eat our absolute body weight at this epic breakfast place one of the boys suggested. Honestly, a meal has never tasted as good as this one did.
By the time we ate and found another taxi back to our hostel, it was at least 1pm. I decided I would try to make it at least until that night to keep my sleeping on some sort of regular schedule. Luckily my hostel had Netflix (which was a DREAM), and after working through one very difficult sleepiness spell I was able to watch movies until the evening time.
Read more about Boquete and where I stayed throughout Panama in my Complete Panama Backpacking Guide!
So, the moral of the story is that the Volcan Baru hike is not for the faint of heart. Doing the Volcan Baru hike actually unknowingly more than prepared me for Patagonia – it was longer and higher in elevation than any day hike I did in Patagonia a few weeks later… and I trekked over 100 miles in a month. Just let that sink in.
My knee bothered me for a little while, and I was actually terrified about it when I was heading to hike the W Trek in Torres del Paine in Patagonia. I did exercises each day to strengthen my patella tendon, and it bothered me for a few days of the W Trek. But, the pain somehow dissipated after day 3…. I think it might be because I got back into shape?!
Anyway, I hope my ridiculous story and pointers have helped you prepare to do the Volcan Baru hike in Boquete! Let me know what you think, or let me know what your experience was like in a comment below!

Passionate, full-time travel blogger with over 230k on social media and 150kMPV blog. Extraordinary photographer with two DSLR's + a drone with a love for capturing candid moments, epic drone shots, and magical compositions. I'm a natural-born content creator originally from California, but I've been on the road for 9 years living, working, traveling, blogging, and photographing my way around the world. I recommend the most amazingly adventurous and unique + boutique travel experiences/stays and helpful products to my audience and write comprehensive guides on my website that have helped millions of travelers so far. I love to inspire people to plan their dream trips, and many readers have given feedback as such. The reach on my platforms continues to soar, especially when combining cutting-edge social content with optimized articles on my high-authority website.
Isabella
Thursday 21st of June 2018
Oh Gosh! what an adventure! I am in Mexico heading down towards Panama. Can't wait to do this hike! Can you tell me if you need a guide to do this hike? thanks a lot :) and thanks for the great post!
KimmConn
Sunday 24th of June 2018
Hey Isabella! You must be so excited for your trip! :) No, you don't need a guide. Honestly the tips in here should be all you really need to be aware of! Its a totally straightforward path so as long as you get a taxi to the start point, you're fine. Let me know if you have any more questions!
Complete Panama Backpacking Guide: Routes, Hostels, and What to Do
Saturday 2nd of June 2018
[…] people come to Boquete to hike Volcan Baru, a 3650m-ish elevation volcano in the middle of Panama. Volcan Baru is the highest point in Panama, […]